


Home › Forums › BulletProof Security Pro › Maintenance Mode Guide
Tagged: CSS, CSS Code, CSS Text, maintenance CSS, maintenance mode
- This topic has 8 replies, 4 voices, and was last updated 8 years ago by
Qtwix.
-
AuthorPosts
-
AITpro Admin
Keymaster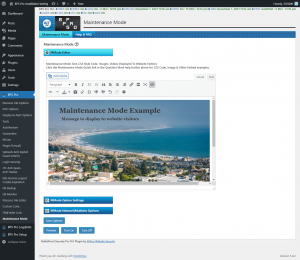 Maintenance Mode Basics, Features & General Info
As of BPS Pro 8.2 & BPS .49.9 Maintenance Mode has been completely redesigned and is now a main feature of BPS. Maintenance Mode no longer uses a FrontEnd maintenance .htaccess file (website root .htaccess file) to put a website into Maintenance Mode, which caused some issues with other .htaccess writing plugins and also limited what BPS Maintenance Mode was capable of doing. BPS does use/writes to the wp-admin .htaccess file (wp-admin folder .htaccess file) if you choose BackEnd Maintenance Mode.
The new BPS Maintenance Mode design includes 20 background images, 15 center images (text box image), allows you to embed image files and YouTube videos, FrontEnd Maintenance Mode, BackEnd Maintenance Mode or both FrontEnd & BackEnd Maintenance Modes and most importantly is fast and simple to use so that you can switch in and out of Maintenance mode quickly and easily.
Background image files/options and Center images (text box image) are independent of each other so that you can mix and match different background images with different Center images (text box image).
Maintenance Mode Options/Settings:
Enable Countdown Timer, Countdown Timer Text Color, Maintenance Mode Time in Minutes, Header Retry-After in Minutes, Enable FrontEnd Maintenance Mode, Enable BackEnd Maintenance Mode, Enter The IP Addresses That Can View The Website Normally (not in Maintenance Mode), Maintenance Mode Text, Images, Videos Displayed To Website Visitors, Choose Background Image, Choose Center Image (background image for Center Text box), Choose Background Color (If not using a Background Image), Display Visitor IP Address, Display Admin/Login Link, Display Dashboard Reminder Message when site is in Maintenance Mode, Enable Visitor Logging, Send Email Reminder when Maintenance Mode Countdown Timer has completed…
Network/Multisite Primary Site Options ONLY:
Put The Primary Site And All Subsites In Maintenance Mode & Put All Subsites In Maintenance Mode, But Not The Primary Site.
NOTE: Network/Multisite subsites can put their individual sites into FrontEnd Maintenance Mode, but the BackEnd Maintenance Mode Option/Setting is not available to subsites. BackEnd Maintenance Mode can be enabled for individual subsites from the Primary site ONLY.
Maintenance Mode Text Displayed To Website Visitors – CSS Code Examples
The Maintenance Mode Text area allows you to add any CSS code for styling in the text area box so that you can visually style your text or embed images and videos.
Maintenance Mode CSS Code – span (div is better to use than span – you have more control and options with div especially when you use CSS position) embedded image/logo, line breaks, font color, italics
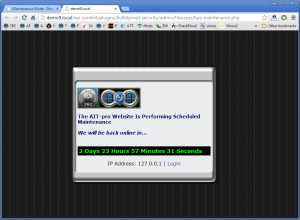
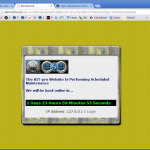
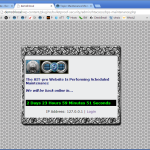
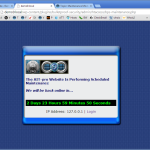
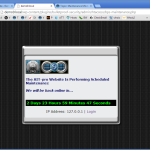
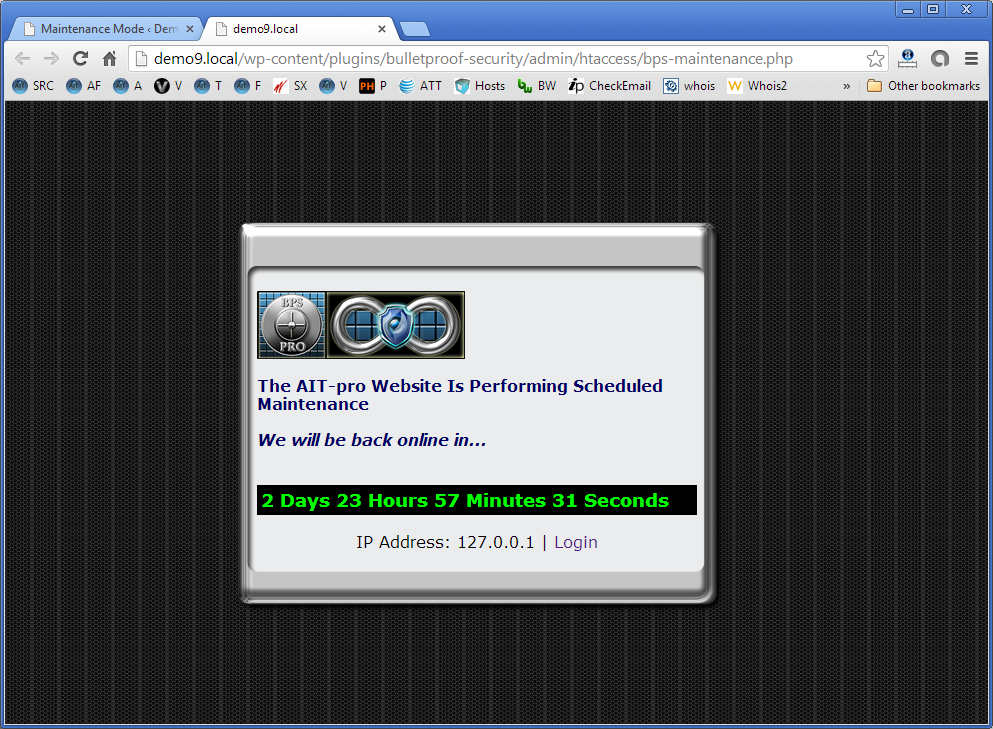
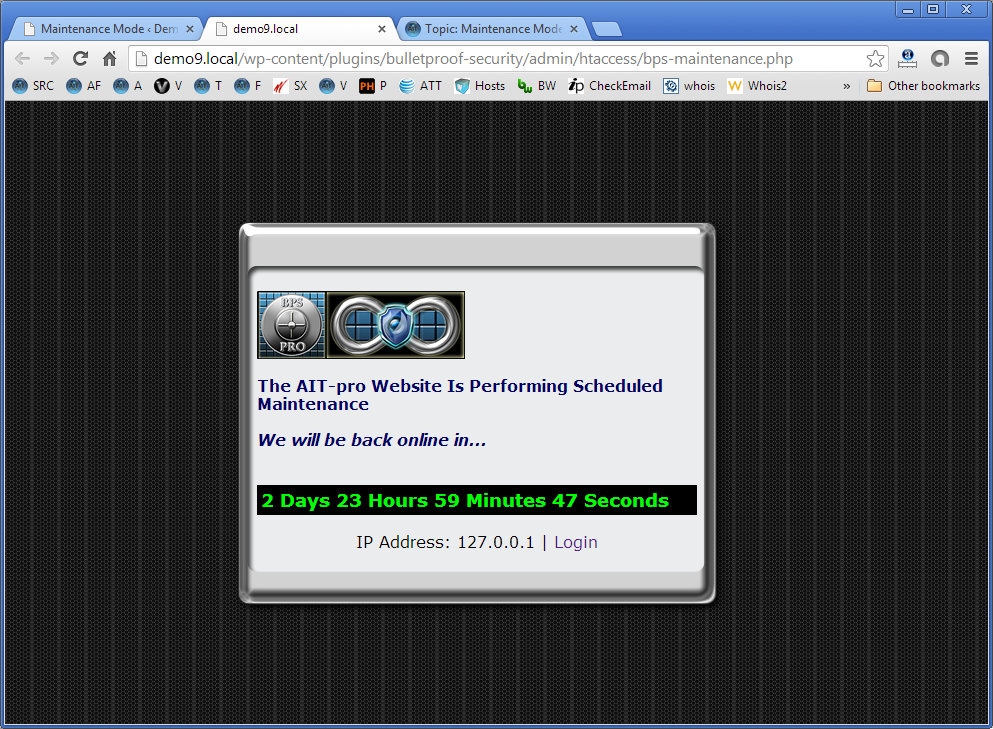
<img src="https://demo9.local/wp-content/uploads/2014/01/bps-pro-logo.png" style="padding:0px 0px 0px 0px; margin:0px 0px 0px 0px;" /><br><br>

<span style="color:#000066; font-weight:bold;">The AIT-pro Website Is Performing Scheduled Maintenance</span><br><br>

<span style="color:#000066; font-weight:bold;"><em>We will be back online in...</em></span>
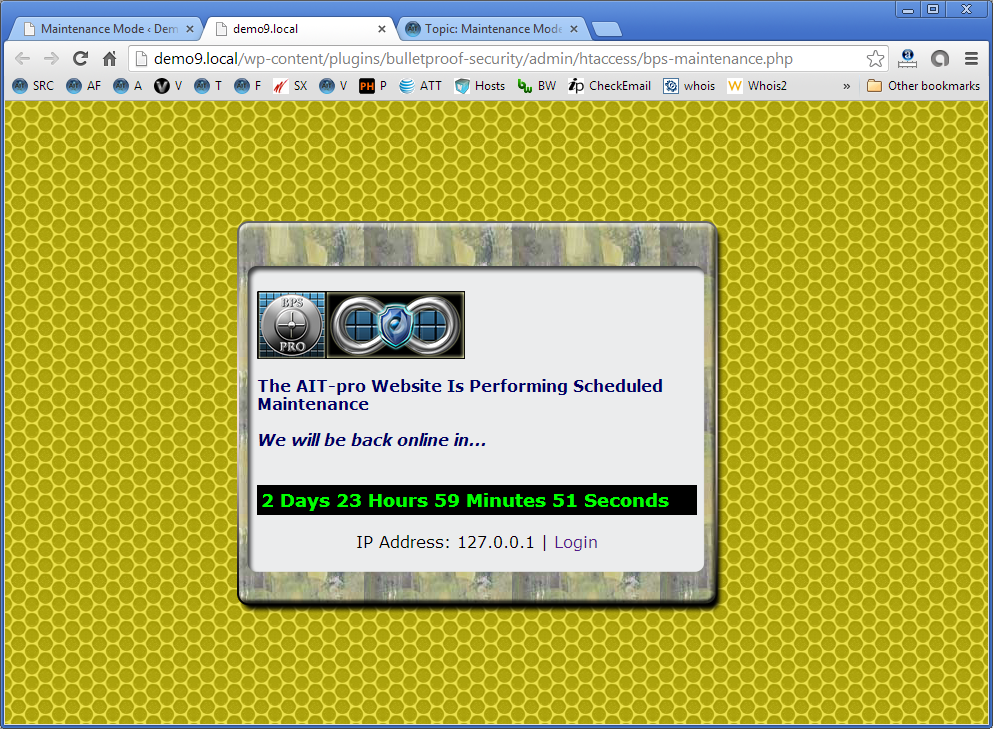
Maintenance Mode Screenshot using the CSS code above
Maintenance Mode CSS Code – embed YouTube video, positioning and resizing the video
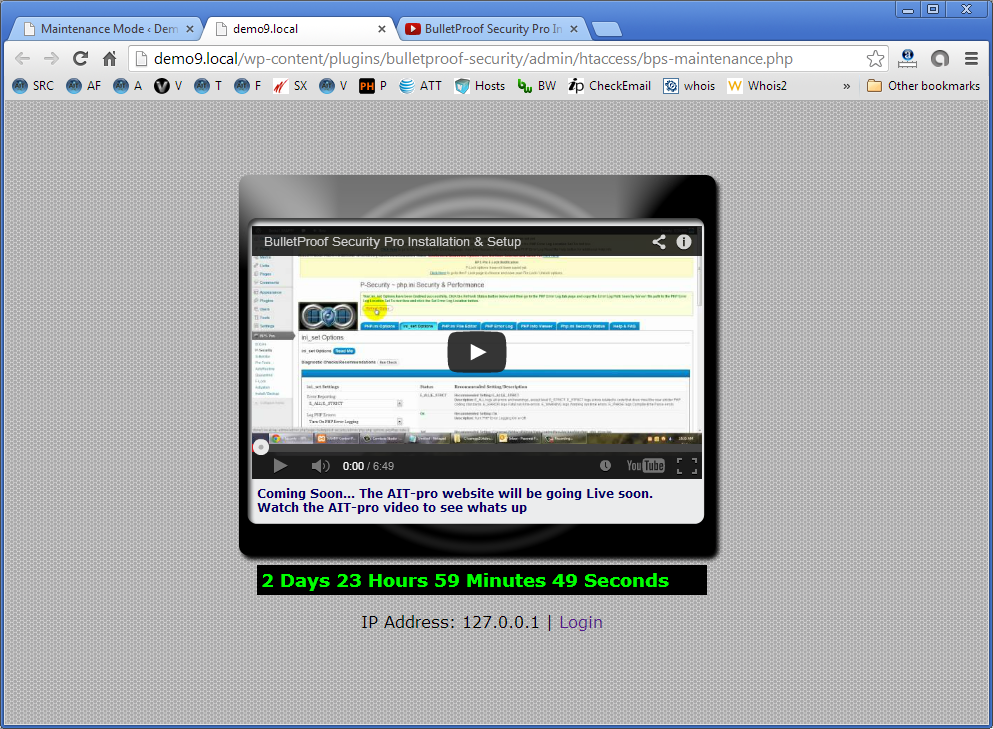
<div id="youTube" style="position:relative; top:15px; right:5px;margin:0px 0px 0px 0px;"><iframe width="450" height="253" src="//www.youtube.com/embed/Jbaz4sbk7jU" frameborder="0" allowfullscreen></iframe>

<div style="color:#000066; font-size:12px; font-weight:bold; margin:7px 0px 30px 0px; padding:0px 5px 0px 5px;">Coming Soon... The AIT-pro website will be going Live soon. Watch the AIT-pro video to see whats up</div>
</div>
Maintenance Mode Screenshot using the CSS code above

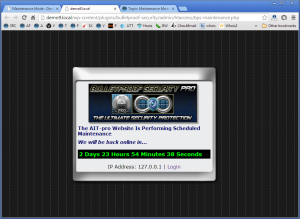
Maintenance Mode CSS Code – div, position, moz box for adding shadows to embedded image/logo using img style and background-image: url
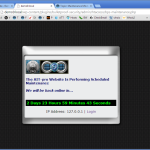
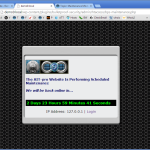
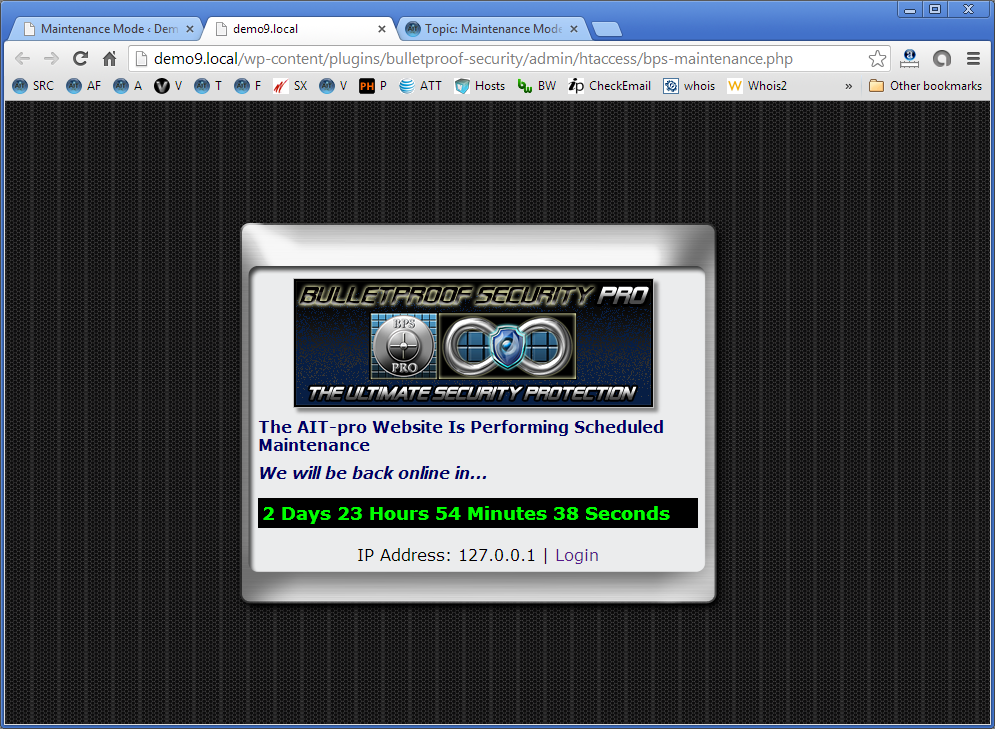
<img style="background-image: url(https://demo9.local/wp-content/uploads/2014/01/bps-pro-logo1.png);position:relative; top:0px; left:35px; height:130px; width:361px; background-size: auto; padding: 0px; -moz-box-shadow:4px 4px 4px #888888; -webkit-box-shadow:4px 4px 4px #888888; box-shadow:4px 4px 4px #888888;" />

<div style="color:#000066; font-weight:bold; position:relative; top:10px; left:0px;">The AIT-pro Website Is Performing Scheduled Maintenance</div>

<div style="color:#000066; font-weight:bold; position:relative; top:20px; left:0px;"><em>We will be back online in...</em></div>
Another CSS example using the newer TinyMCE WYSIWYG Editor. A directly inserted image instead of using the “img” tag when inserting an image via the Media Uploader / Add Media button.
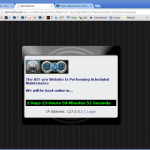
<a href="https://demo9.local/wp-content/uploads/2014/01/bps-pro-logo1.png"><img class="alignnone size-full wp-image-99" style="position: relative; top: 0px; left: 35px; height: 130px; width: 361px; background-size: auto; padding: 0px; -moz-box-shadow: 4px 4px 4px #888888; -webkit-box-shadow: 4px 4px 4px #888888; box-shadow: 4px 4px 4px #888888;" alt="bps-pro-logo" src="https://demo9.local/wp-content/uploads/2014/01/bps-pro-logo1.png" /></a>
<div style="color: #000066; font-weight: bold; position: relative; top: 10px; left: 0px;">The AIT-pro Website Is Performing Scheduled Maintenance</div>
<div style="color: #000066; font-weight: bold; position: relative; top: 20px; left: 0px;"><em>We will be back online in...</em></div>
Maintenance Mode Screenshot using the CSS code above
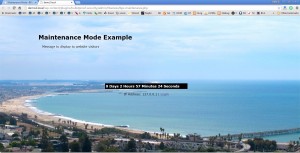
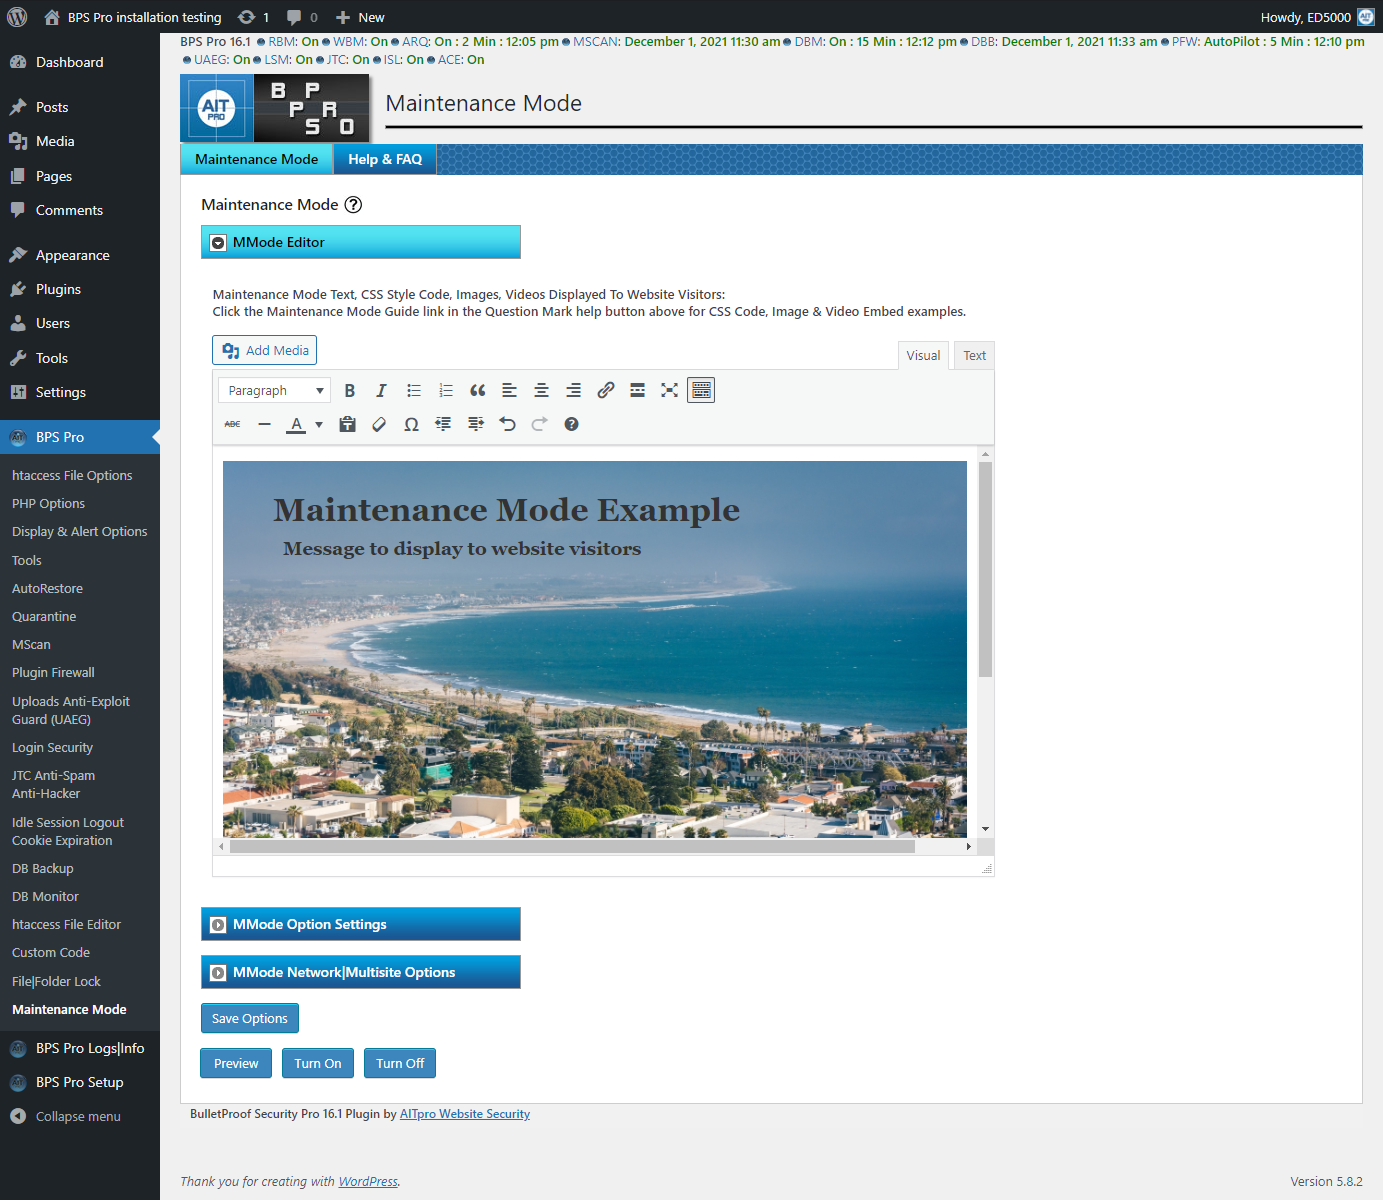
Full Screen Background Image with text on the top layer
Add your image file using the Add Media button. Add your CSS code in the WYSIWYG Editor Text tab to style the size and position of the background image file. Note: z-index: -1; puts the image file on the lowest layer (the background) so that your text is on top of the background image.<div id="image-text-top" style="position: absolute; top: -250px; left: -375px; margin: 0px 0px 0px 20px;"> <h1>Maintenance Mode Example</h1> <span style="margin: 0px 0px 0px 20px;">Message to display to website visitors</span> </div> <div id="image-position" style="z-index: -1; position: absolute; top: -325px; left: -560px; background-size: auto; padding: 0px; -moz-box-shadow: 4px 4px 4px #888888; -webkit-box-shadow: 4px 4px 4px #888888; box-shadow: 4px 4px 4px #888888;"><a href="https://demo2.local/wp-content/uploads/2015/02/ventura-ocean-and-sky-view.png"><img class=" size-full wp-image-24 alignleft" src="https://demo2.local/wp-content/uploads/2015/02/ventura-ocean-and-sky-view.png" alt="ventura-ocean-and-sky-view" width="1600" height="730" /></a></div>
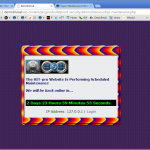
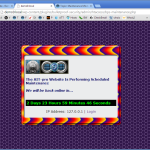
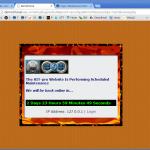
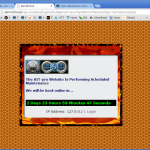
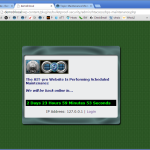
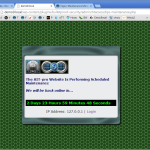
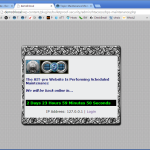
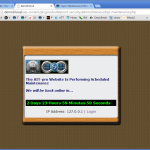
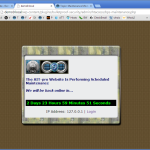
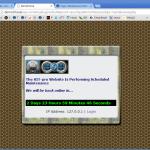
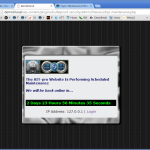
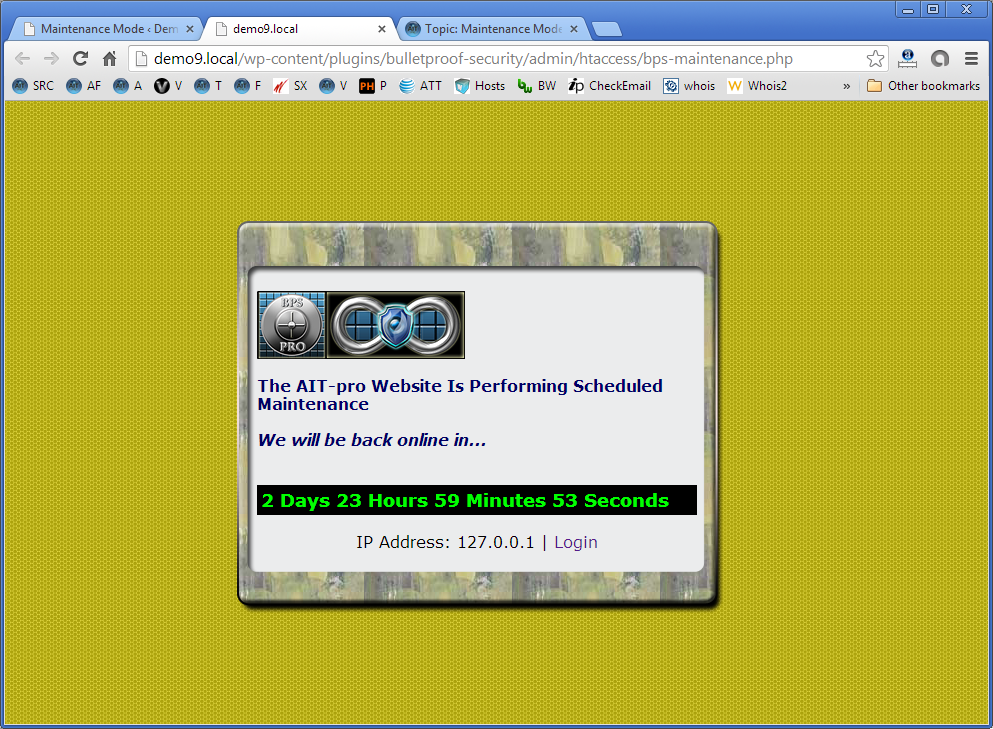
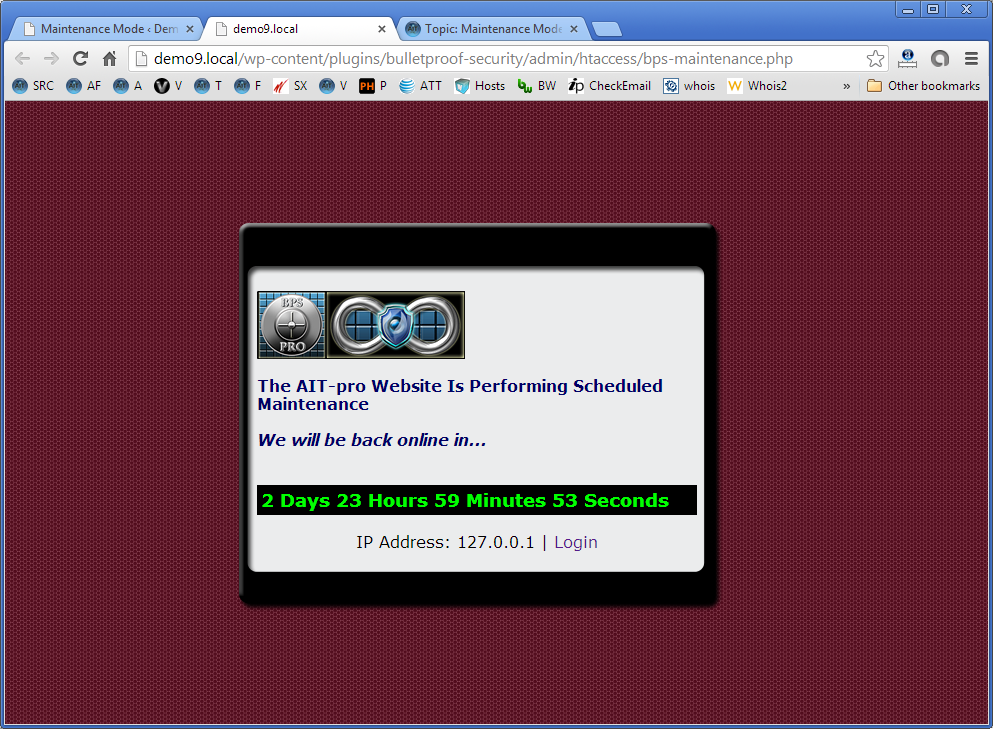
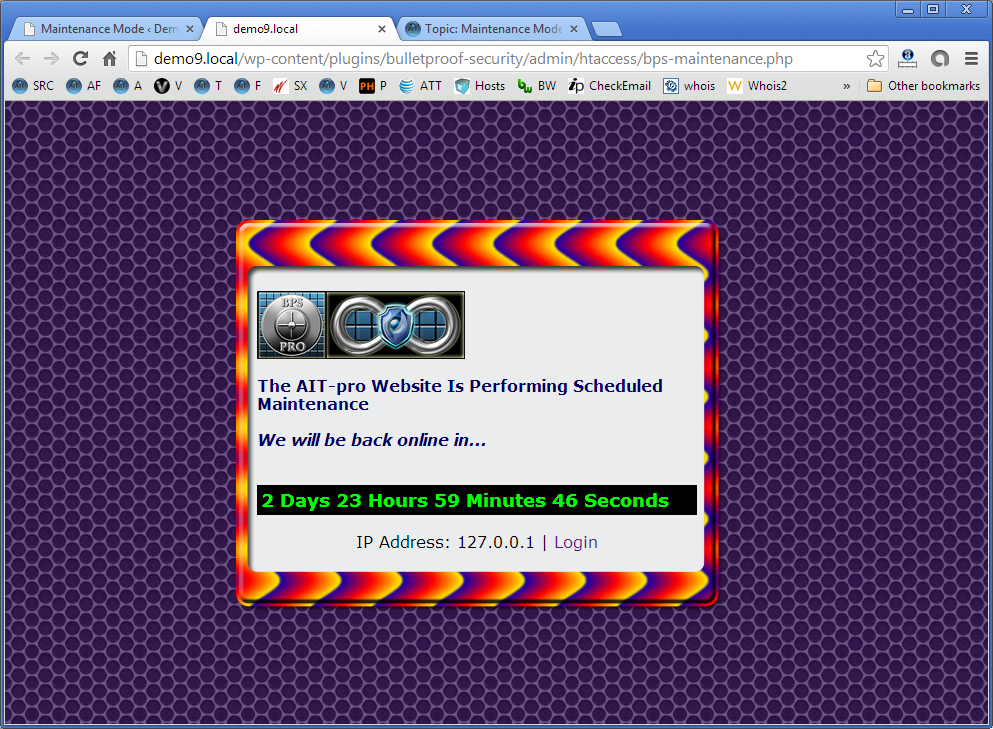
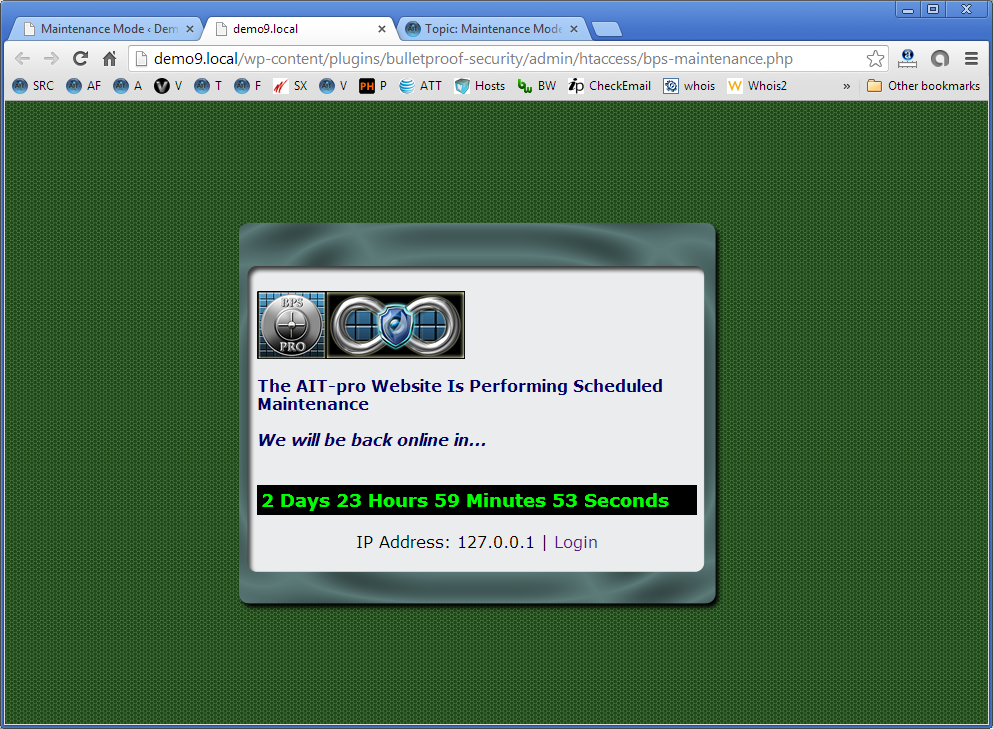
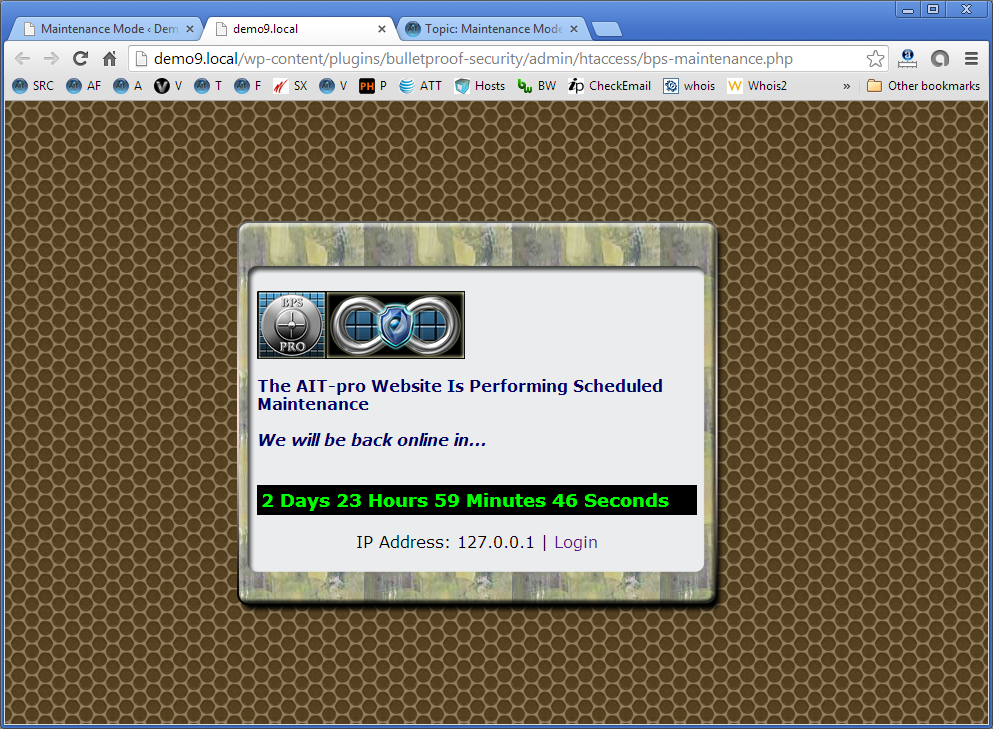
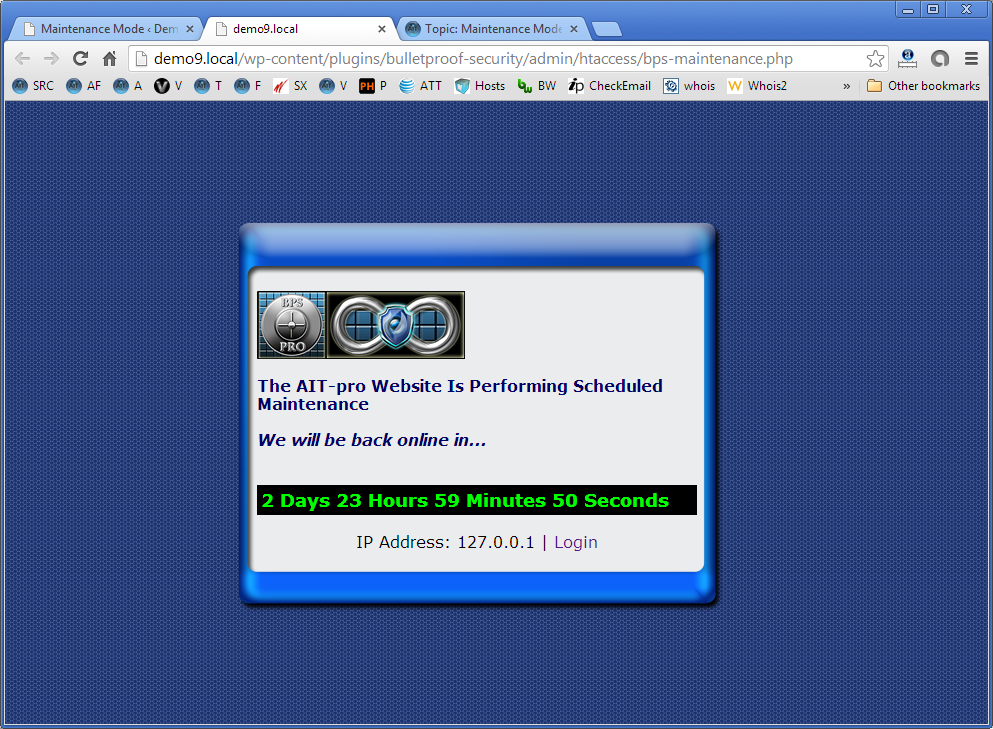
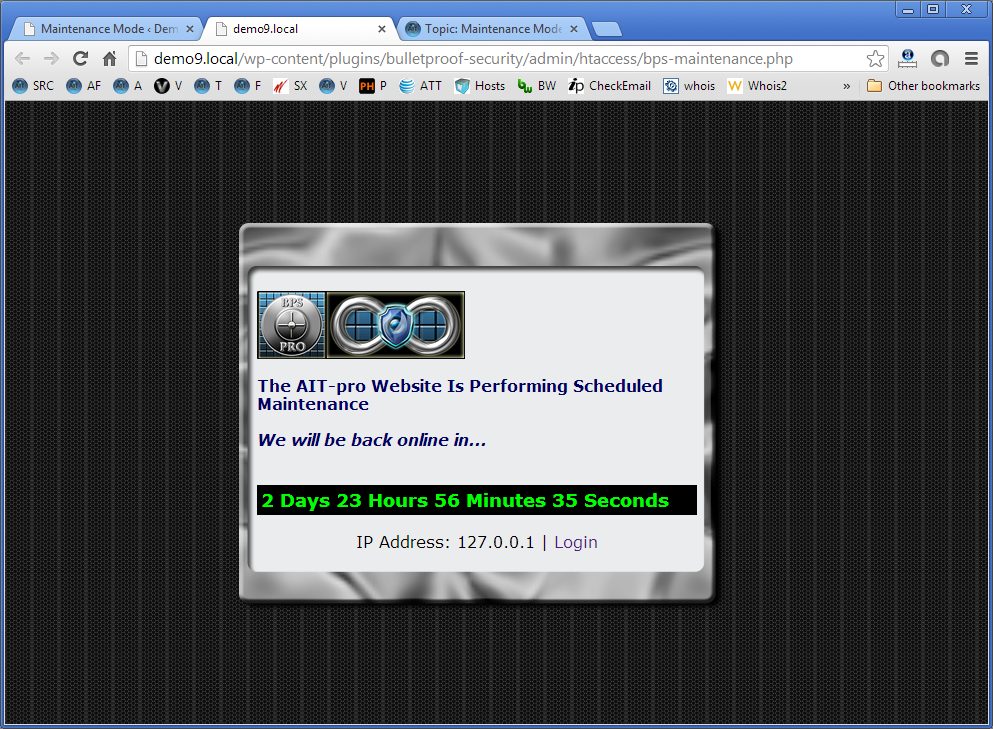
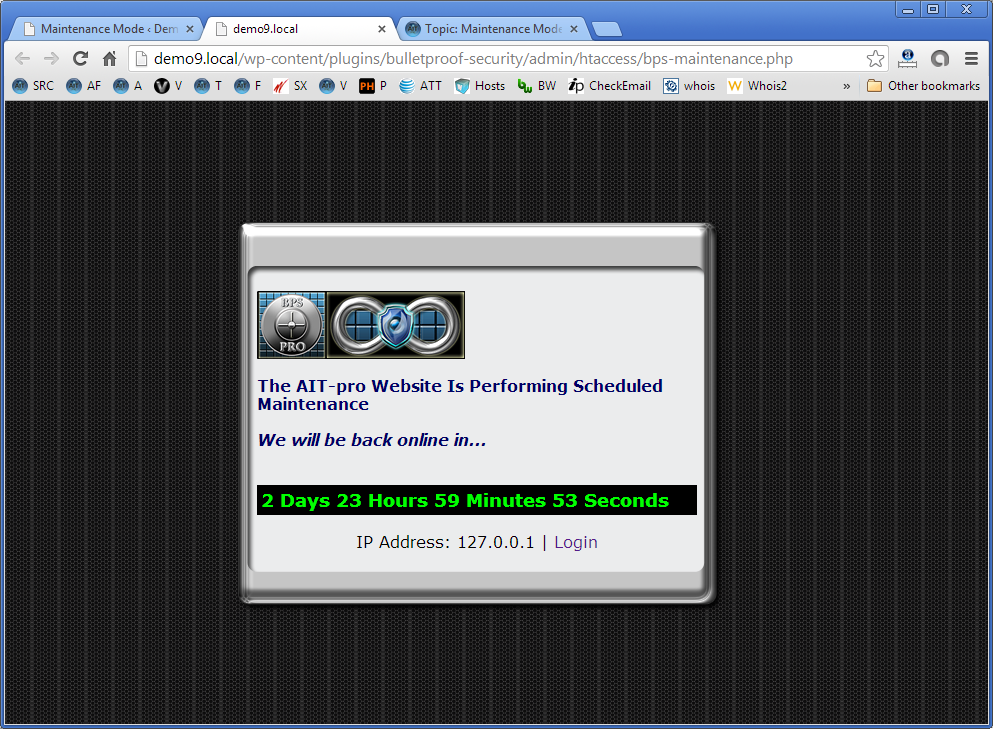
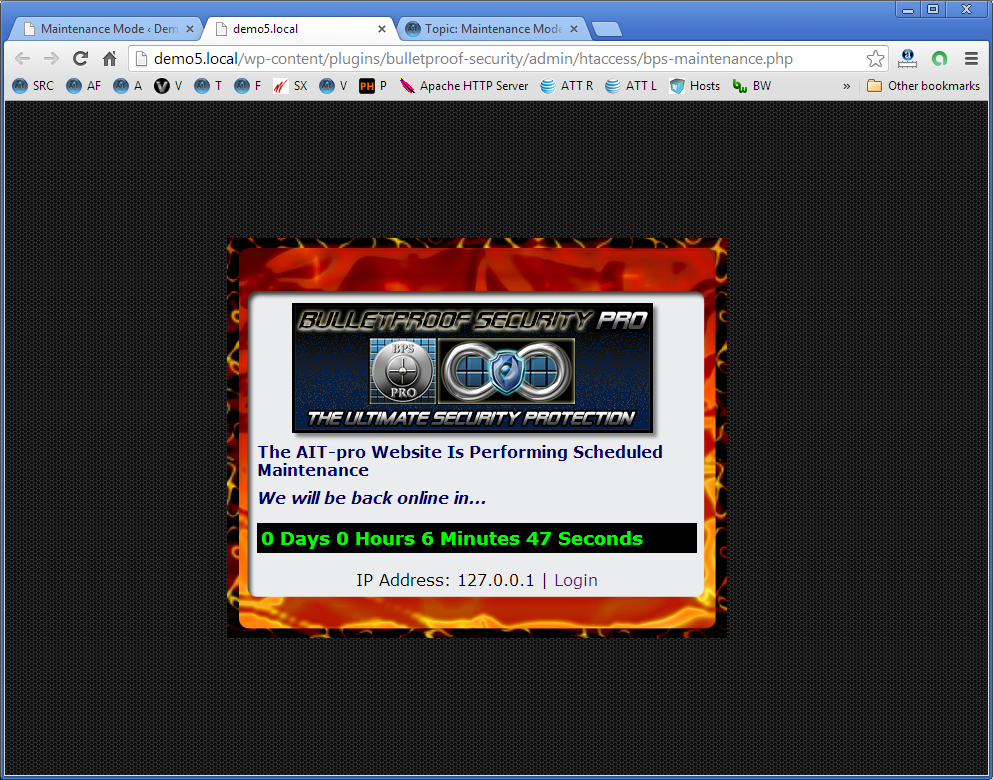
Screenshots of Background Image and Center Image Combinations
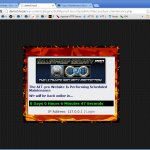
Note: Background images and Center images can be mixed and matched. The font colors for the Countdown Timer are: LCD/Lime Green, White, Silver or Gray. LCD green was used in all of these screenshots.


Troubleshooting Issues/Problems
Problem: Unable to login to website after enabling BackEnd Maintenance Mode. Note: If you are only using FrontEnd Maintenance Mode and not BackEnd Maintenance Mode you can login to your website at anytime by entering the URL to your /wp-admin/ folder in your Browser Address bar: https://www.example.com/wp-admin/.
Solution: Use FTP or your web host control panel file manager and delete the wp-admin .htaccess file in your website’s /wp-admin/ folder and log back into your website. Do one of these options below depending on if you are still using Maintenance Mode or you are finished using Maintenance Mode:
Still using Maintenance Mode: Go to the BPS Security Modes page and activate wp-admin BulletProof Mode. Go to the BPS Maintenance Mode page and add your new IP address that is displayed to you on the Maintenance Mode page (Your Current IP Address: 127.0.0.1 or a better choice is to use the Recommended IP Address: 127.0.0.) in the “Enter The IP Address That Can View The Website Normally (not in Maintenance Mode)” text box, click the Save Options button and click the Turn On button.
Done using Maintenance Mode: Go to the BPS Security Modes page and activate wp-admin BulletProof Mode. Go to the BPS Maintenance Mode page and click the Turn Off button.
jenni101
ParticipantHi,
Not sure if this is normal, but I noticed that after I’ve put my site in MM using BPS pro, it takes it out of MM if i update wordpress first (as that’s what it’s meant to do i guess), so it’s then no longer in MM when I start updating other plugins etc. So I have to put it in MM again – otherwise my site will be open for anyone during these updates.
Any ideas for best practice, or am I just missing something here?
Cheers.
spacecash21
ParticipantHi,
entered an IP, enabled frontend and backend MM and now I’m locked out. How can I disable the MM without the ability to login to website?
Keymaster@ spacecash21 – Use FTP or your web host control panel file manager and delete your /wp-admin/.htaccess file. Log into your site, go to Maintenance Mode, uncheck this checkbox option: Enable BackEnd Maintenance Mode and save your MMode option settings.
Qtwix
ParticipantHi,
I can’t edit anything in the MMode Editor. It’s just a white field without any editing functions/buttons. I even can’t click into the field as it’s without a text cursor.
Do you have any suggestion to resolve this issue?
Thanks
Keymaster@ Qtwix – Do you have a plugin builder or theme builder installed? I assume you are trying to edit your website pages/posts on the frontend of your website or maybe you are using the WP Customizer? Please add more details for this problem. Note: Since this is a Sticky Forum Topic then BuddyPress/bbPress does not send automatic email replies for Sticky forum topics. I have manually sent you an email.
ParticipantHi,
By de-/activating all the plugins, I figured out, that the cause of this issue is between the LayerSlider WP and BPS Pro. If I deactivate the LayerSlider Plugin, the MMode Editor is displayed correctly. If I re-activate the LayerSlider, all the editing buttons/fields on the top of the MMode Editor vanish and the text field is not editable as it’s not possible to place the cursor into the field. I have several Multisites and the issue is present only in those installations where the LayerSlider is activated on the main site.
Thanks
Keymaster@ Qtwix – Try using this option on the BPS > UI|UX Settings page > Script|Style Loader Filter (SLF) In BPS Plugin Pages option > choose the SLF On setting and click the Save Option button.
ParticipantThat option solves the issue.
Thank you very much!
-
AuthorPosts


- You must be logged in to reply to this topic.